Way back at the beginning of 2008, I wrote an article entitled "Servers – Coming to a home near you!", which basically went over the revolution that was going to take place in the consumers home in terms of technology.
It was around that time that Microsoft released their new home server product, Windows Home Server, a stripped down version of Windows Server 2003. The next generation of home networks was started.
Immediately, HP came out with servers to run the new Windows Home Server OS, including the HP MediaSmart 470 server and then the current MediaSmart 485 and 487 models. These machines all run Windows Home Server and include several hard drives for data backup and media storage.
Until now, however, you had to drop anywhere from $550 to $700 in order to get your hands on one of these bad boys! Not a small chunk of change, especially if you don't have a small number of computers in your house and backup data on an external hard drive.
The HP MediaSmart Server LX195 changes the whole equation with a low price of only $399! And at the time of writing this review, the current price of the LX195 is a super low $299 with $100 instant rebate! Click here to see the price (scroll down to the bottom).
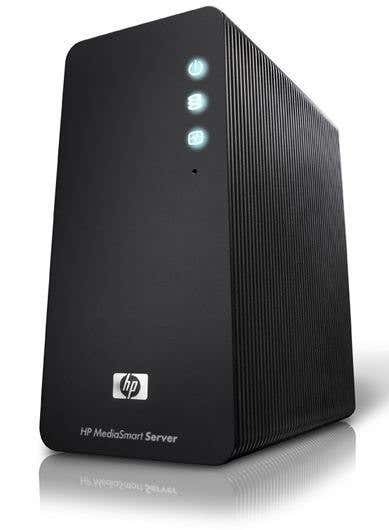
Before I get into the actual review, I wanted to go over the main features and highlights of the LX195:
- Supports all Windows machines and Apple Mac computers running OS X.
- Automatic backup of Windows PCs and Mac computers on your home network
- Software to automatically centralize all your digital media onto the server
- Ability to stream your media to any PC on the home network or to your TV via Xbox 360 and Playstation 3.
- Ability to publish photos directly to online sharing sites like Flickr, Picasa, Snapfish, and Facebook.
- Ability to backup your server online to online backup services like Amazon S3.
Overall, the LX195 packs a lot of features into a small device. Here are the main specs for the LX195 server:
- Intel Atom 1.6 GHz Processor 230
- 1 GB of DDR2 DRAM
- 1 SATA 7200 RPM, 640GB hard drive
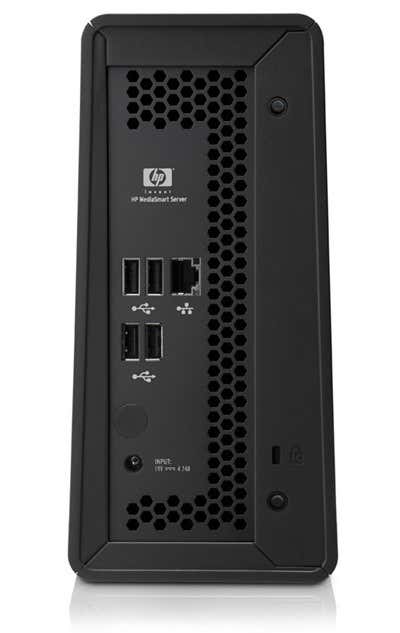
- 4 USB 2.0 ports
- 1 built-in Gigabit Ethernet port
Here is an image of the back of the MediaSmart LX195 device:
 What comes in the box?
When you receive your server, you should have the following items in the box:
- HP MediaSmart Server LX195
- 1 Ethernet cable
- 1 Power cable
- 1 quick setup poster
- 3 installation CDs (Software installation, Server Recovery, and PC restore)
- 1 warranty booklet
Getting Started
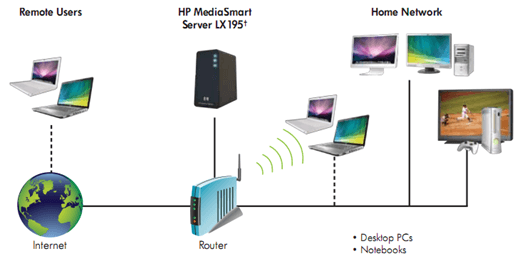
So how hard is it to get the server up and running? Luckily, it's very straight-forward and takes less than half an hour. The first thing you have to do is connect your server to a wireless router in your house, which will then allow it to talk to all other devices.
Once connected to your router, pop in the Software Installation CD into your PC and the software will automatically detect your server on the network and begin the initialization process.
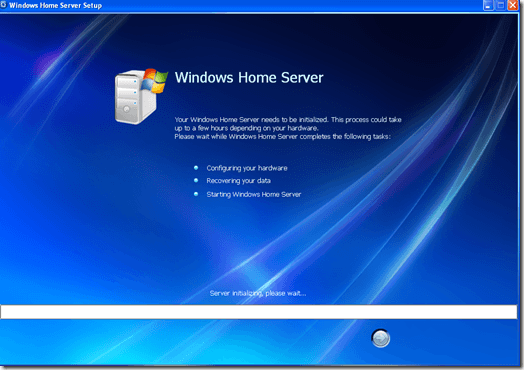
Once the server has been initialized, you will be asked to give a name to your new server, followed by a password. After that, you will be asked to turn on automatic updates, which is recommended.
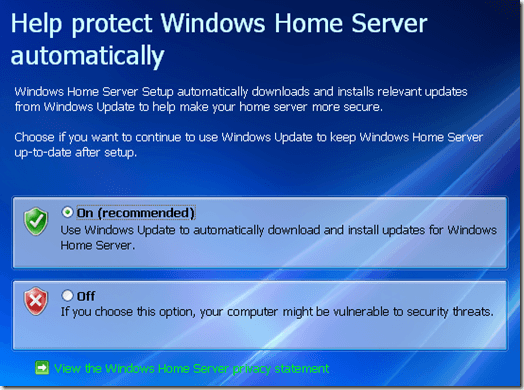
You'll also be asked to download and install any patches for the MediaSmart Server at the very end. This initial setup takes the longest since there are several Windows updates and several HP updates that need to be installed.
Finally, once you have restarted your computer, go to Start, All Programs and you'll see two new options: Windows Home Server Console and HP MediaSmart Server.
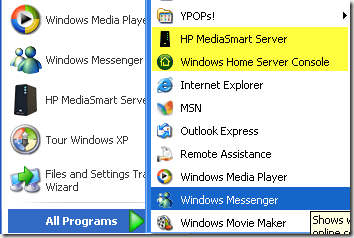
Type in your password and then you'll be logged into the main console, where you can setup all the different features of the server:
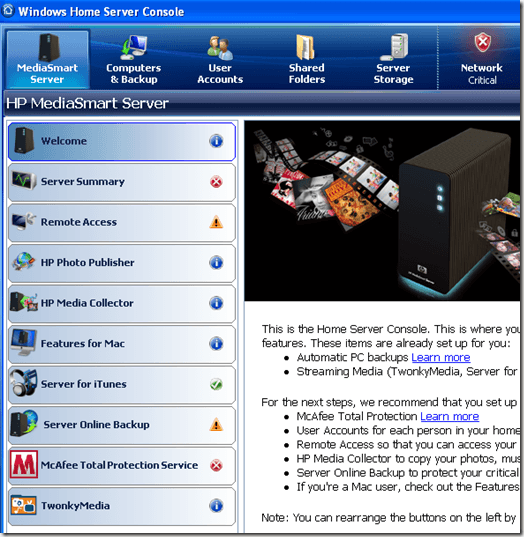
The first thing you want to do is get rid of all the red X's in the Server Summary screen. Click on "Click for more details" and you'll see what the critical items are:
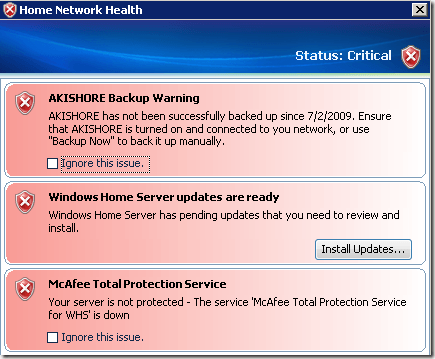
Basically, you need to install the latest updates for the OS and also turn on the McAfee Total Protection Service, which is the anti-virus protection for your server. It's a good idea to turn this on because if there are many files being transferred to the server from multiple computers, it's possible some files can contain viruses.
Setup User Accounts
The next step is to setup the user accounts in the Windows Home Server Console. There are basically two ways to setup user accounts: individually or using the Guest account.
If you have computers at home that do not have passwords set on them, meaning the computer just starts without needing to login, then it's best to just enable the Guest account, which means everyone will be able to connect to the shared folders without needing a username and password.
If each computer does have a login and password, then you should create user accounts with the SAME username and password on the server. So if you have a XP computer with a username of John and a password CoolDude, then create the same account on the server.
You can do that by clicking on User Accounts at the top and then pressing the Add button.
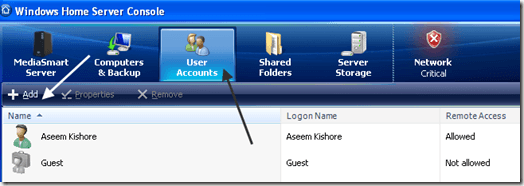
The reason you want the username and password to be the same is that it will make it seamless when accessing shared resources on the server. When you log into your computer, you will not have to type in the login information when you try to browse a shared folder.
Backing Up and Restoring Computers
Once you have setup a user account, it's probably a good idea to start backing up your computers. Note that in order to backup a computer, you need to run the Software Installation CD on each computer. It will detect the server and add the computer to the list of computers.
Click on Computers and Backup and you should see the name of the first computer in the list.

Right click on the computer name and choose either Backup Now or Configure Backup to create an automatic backup schedule.
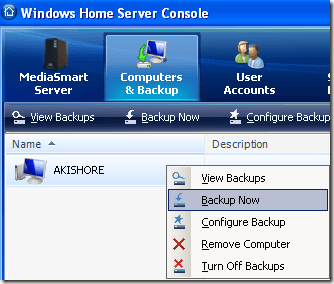
My recommendation is to create a backup immediately so that your OS and data are safe and then to configure a backup schedule so that your computer will be automatically backed up in the future.
A backup of my 30 GB laptop took about 30 minutes from start to finish! Not bad at all for the amount of data. Subsequent backups took less time since they were incremental.
Restoring a PC is also a piece of cake. Simply pop in the PC Restore CD and the software will automatically find your LX195 server and restore the PC to a new hard drive or the same hard drive within minutes. I was very impressed with how easy it was to restore my entire PC using the CD.
Add Media To Server
After setting up user accounts and backing up your computers, it's time to start putting up some media onto your server. Once the media is on the server, you can stream it to any computer on the network, across the web, steam it to iTunes, or stream it to your Xbox 360 or Playstation 3.
Click on the HP Media Collector button to start transferring media. The Media Collector program will copy media files from all your computers on the network and organize them onto the server.
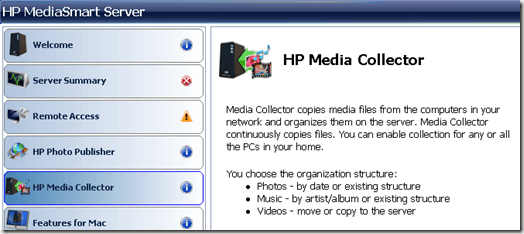
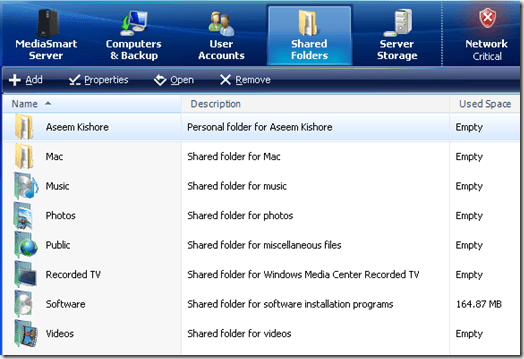
It will automatically copy pictures to the Pictures shared folder, videos to the Videos shared folder, music to the Music shared folder and so on. Note that with shared folders, each computer also will get a personal shared folder if you're not using the Guest account:
Configure Settings
Finally, you should go ahead and configure any settings to desired values by clicking on the Settings button at the top right.
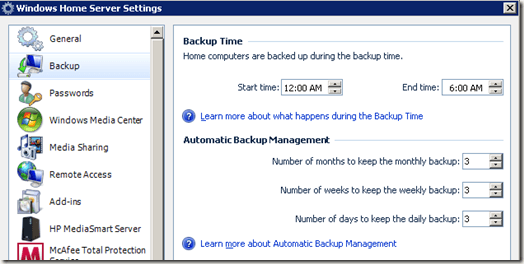
Here you can turn on or off automatic updates, set the backup time window and the number of backups to store on the server.
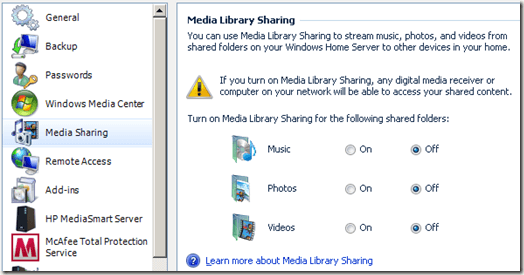
You can also enable Media Sharing, which will allow any digital media receiver in your house to access your shared pictures, music and videos.
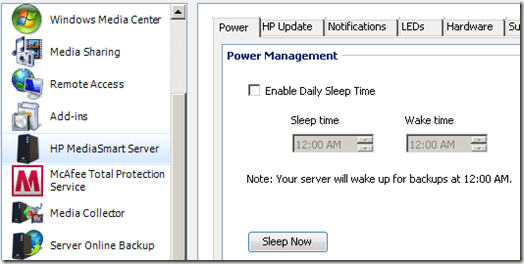
If you click on HP MediaSmart Server, you can configure the Power Options for the device, so that it's not sucking up power all day and night. You can enable a sleep window and your server will turn off until the set time or when you tell it to wake up.
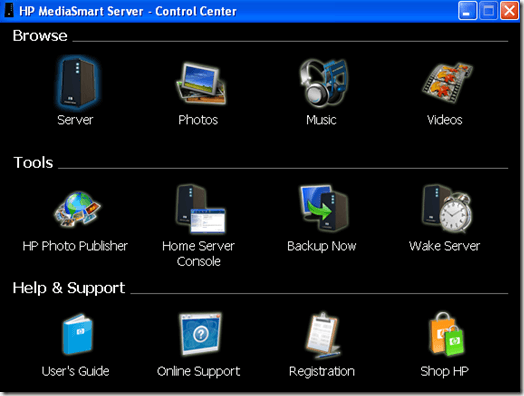
HP MediaSmart Control Center
Most of the other features of the Windows Home Server Console are pretty straight-forward, such as the HP Photo Publisher tool and the Remote Access tool. What I really like are the in-depth walkthroughs for each setup and configuration.
Remote access requires getting a domain name and configuring your router, but it's fairly easy to setup using their step by step directions. I was able to setup remote access in about 15 mins without any issues.
The other option, the MediaSmart Control Center, allows you to quickly access shared folders and perform backups.
Conclusion
Overall, the HP MediaSmart LX195 is a great home server for the low price of $399 (currently only $299). It offers a large amount of storage for backups, media and is simple to upgrade or expand, if necessary.
If you currently have no backup solution or way to share media between your home computer, the small price tag for the device will add a lot of value to home network!
Copyright © 2007
Online Tech Tips.
Aseem Kishore (digitalfingerprint: a59a56dce36427d83e23b501579944fcakmk1980 (74.125.44.136) )Post from:
Hp MediaSmart Server LX195 Review


