Computer Tips From A Computer Guy |

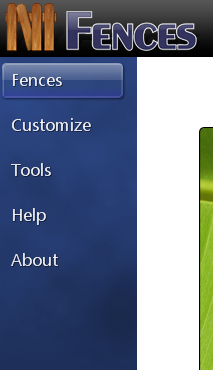
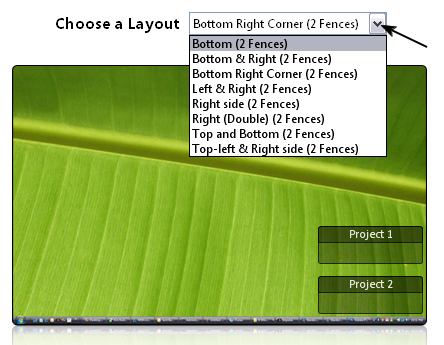
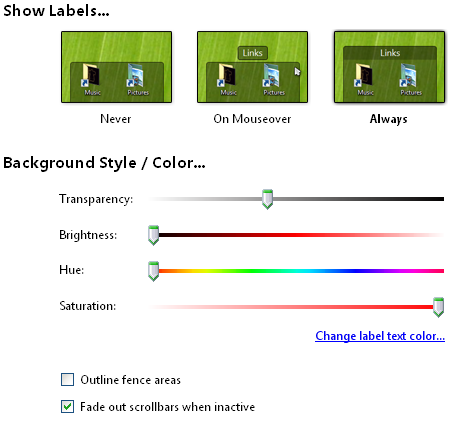
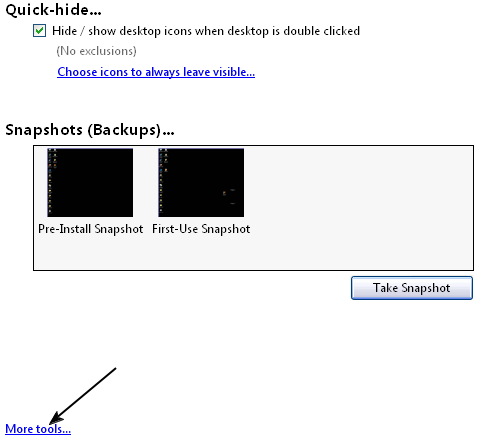
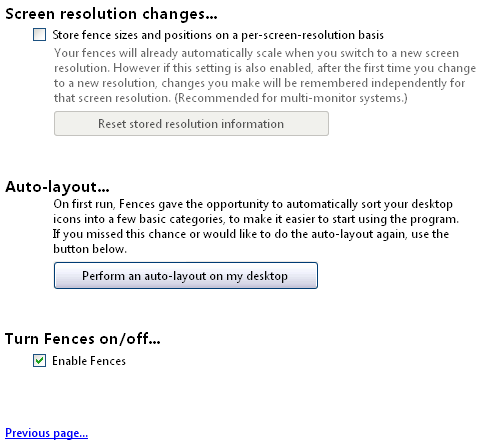
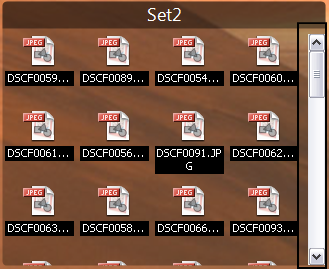
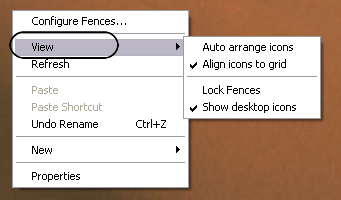
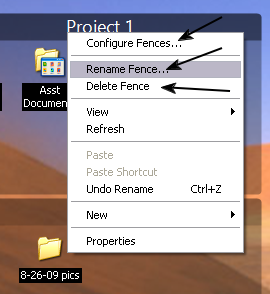
| Clean up your Windows desktop using Fences Posted: 13 Oct 2009 03:13 AM PDT The Windows Desktop has become a staple working area for Windows users over the years. Even with the advent of the My Documents folder, people still love to put file on their desktop because, well, they are easy to find. You turn on your computer, and they are right there in front of you. The thing you have to ask yourself is are your staring at an organized set of information, or does your Desktop look like the aftermath of a hurricane with the amount of files scattered about? True enough, it is entirely possible that you began creating folders on your Desktop, and began loosely categorizing them simply to throw files into the folders. This is a start to organization, however, it is possible that you may become overloaded with many folders. The problem with either move is that you cannot see your desktop, but what if you could still place many items on the desktop, but organize it even further? Fences (found here) is a simple program to help you curtail file and folder bloat in your Windows Desktop view. Instead of creating extra folders to hold your files, Fences gives you areas on your Desktop when you can drag and drop files and folders. These areas can be resized like a window by dragging the edges and corners. When you start up Fences, the left hand side of the window shows a small menu navigation bar. By default, the Fences menu choice is selected. This is where you have a quick Fence setup for choosing your initial layout. Here you can start with a pair of Fences at one of several places on your Desktop, selectable by a drop-down menu. These can be adjusted later. However, it gives you an idea of the Fences positioning on your Desktop. If you have the Vista sidebar, or other type sidebar application running, it is easier to adjust the initial layout of Fences. When you click on the Customize menu choice, you are presented with options to modify how Fences appear on the Desktop screen. Here you can change the positioning elements of the Fences and labels. You can also change how transparent your Fences are, and what type of coloring they use. Within the Tools menu section, you can choose whether or not to hide Desktop icons by double-clicking on the Desktop itself. You are also presented with the option of rolling back to a pre-Fences Desktop by restoring the Pre-Install Snapshot. A snapshot can be taken at any point you change your Fences arrangement. At the bottom of the Tools menu, there is a More Tools link. Within this are you have some advanced options to play around with. Here you may also Enable or Disable Fences itself, should you desire to turn it off. This area also gives you the choice of running an automatic layout of your Desktop Fences . To add objects (file and folders) to your Fences, all you have to do is drag and drop files on to one of your Fences. They act just like open Windows type folders, except they will always be open. The more you add to them, depending on how you sized them on your Desktop, the scroll bar on the Fence’s side will grow accordingly. While you have Fences running on your computer, your right-click menu, activated from the Desktop, is changed. Instead of the normal icon arrangement options, these have been changed to align with Fences. Here you may select Lock Fences if you do not want to resize your Fences with your mouse. Should you want to rename, remove, or reconfigure your Fences setup, these options are available at the Desktop level. Simply right-clicking on one of your Fences label bars gives you access to these functions. If you use the Delete Fence option, the items contained in that Fence are pushed back onto your normal Desktop area. If your idea of Desktop cleanup is dumping everything into your My Document folder, and it works for you, then you may pass on Fences. This program focuses on the Windows Desktop. But if you are someone who lives and breathes by your file being the Desktop, and are in need of some organization, Fences may be right up your alley.
Related postsCopyright © 2007 Online Tech Tips. Aseem Kishore (digitalfingerprint: a59a56dce36427d83e23b501579944fcakmk1980 (74.125.44.136) ) Post from: 
      |
| You are subscribed to email updates from Online Tech Tips To stop receiving these emails, you may unsubscribe now. | Email delivery powered by Google |
| Google Inc., 20 West Kinzie, Chicago IL USA 60610 | |
